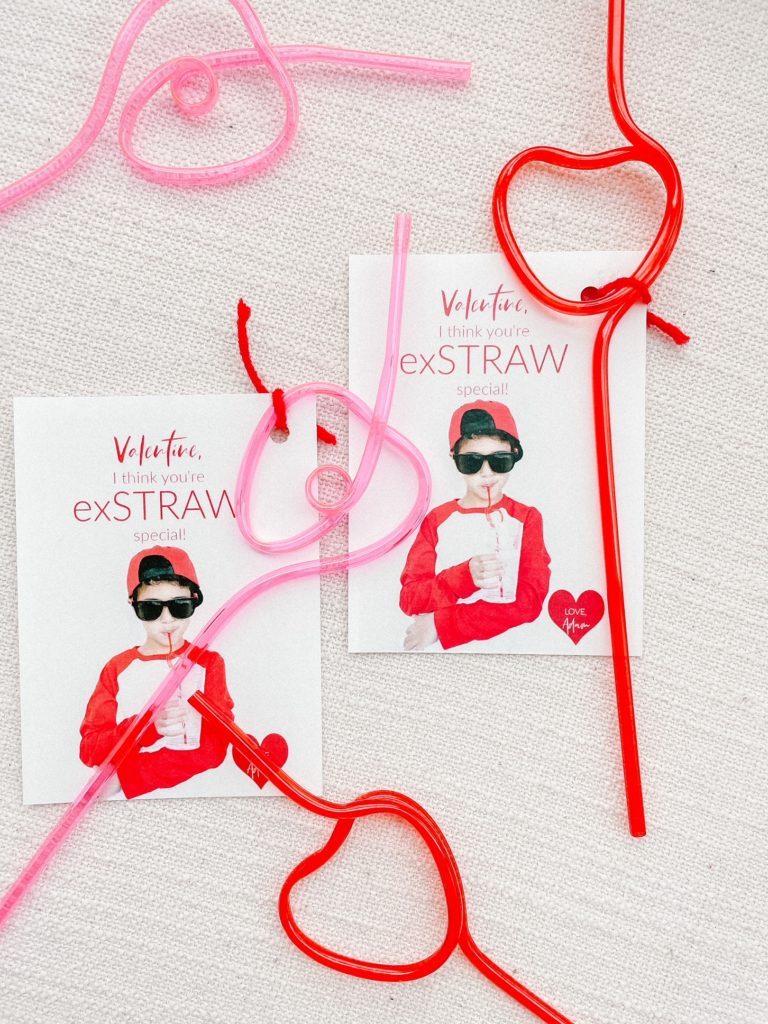
I posted about my kids’ exSTRAW Valentine’s Day cards over on Instagram and I got a few questions about how I made them so I thought I’d type-up a quick tutorial (especially for myself, because I’ll probably forget how I made them if I want to DIY it again next year). I did use the pro features that are required in both PicMonkey and Canva, but you can just sign-up for a free trial period if you want to make these. I’m sure there’s an easier way to do this (maybe on Photoshop), but I was too lazy to try and figure it out…maybe next year. Ok, so let’s get to it.
- The first step is to obviously start with the photo you want to use and upload it into PicMonkey. Resize it to 534px wide x 700px high (if it’s in portrait mode, reverse if in landscape mode).
- Add your text and any graphics you want.
- Download as a PNG.
- Open Canva and Create a Design for a 11 x 8.5 document.
- Under Elements, select a grid (the one with the big square).
- Resize the grid so that it’s 3.2 wide and 4.3 high.
- Copy and paste that grid multiple times so that five fit on a page.
- Upload your photo and drop it into each of the five boxes.
- Download your file as a PNG.
- Print on cardstock and cut out.


Leave a Reply