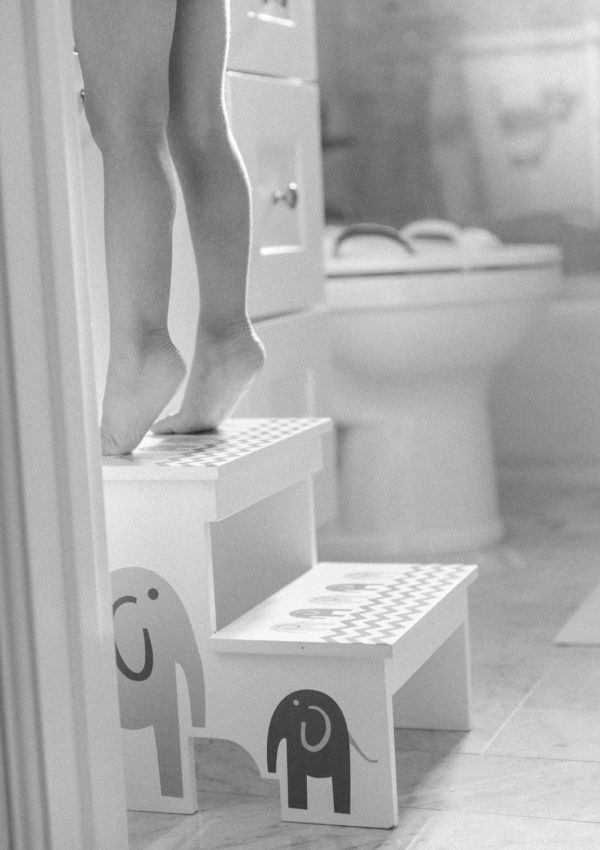
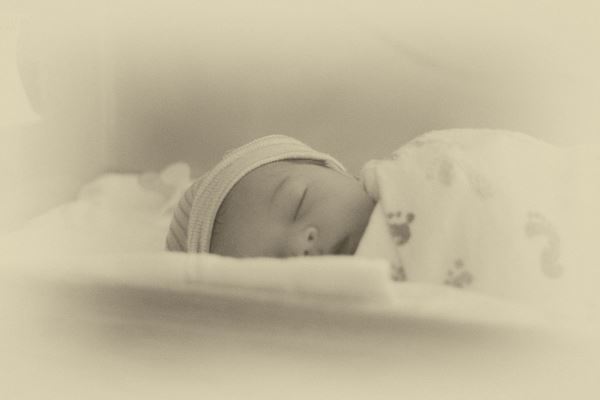
For the longest time I would take his pictures on Auto mode, but they didn’t look the way I wanted them to. I didn’t even know what look I was going for, I just knew that what I was capturing wasn’t it. So after two-and-a-half years of “how-to” Google searches and lot of practice, I finally feel comfortable with my camera. I of course have A LOT more to learn, and am always looking to learn more. I find a true joy in capturing my children’s childhood and take these photos for them AND me. They really do grow up fast so I try to capture moments when I can.
So, if you’re a mama trying to get some decent pictures of your kids that aren’t on your iPhone, read on.
So let’s first start off with camera equipment. My first camera was a Canon Rebel T3i. My husband bought it for me because it was a bundle they were selling it Costco. Costco is now selling the Canon Rebel T6 bundle. If you’re just starting out in your photography journey, I would recommend this option. The Rebel series are great starter cameras and will allow you to capture some really beautiful photos.
After using my Rebel for five years, I finally upgraded my camera this year. I wanted a full-frame camera with a touchscreen and Wi-Fi capabilities, so I bought the Canon 6D Mark II. Now, while the body of the camera is important, I’d say your lens is even more so. In fact, if you already own a DSLR and are contemplating between buying a new body or lens, I’d say go with a lens. A high quality lens makes a HUGE difference. In fact, if you do buy a bundle that comes with the kit lens, don’t use it lol. The kit lens usually isn’t good. I’m currently using this lens and I do love it. However, I would’t recommend it as a starter lens because it is expensive. Instead, I would highly recommend the “nifty-fifty”. The Canon 50mm lens is the first lens I purchased and loved. It’s affordable and takes fantastic photos. It is a fixed lens which may take some getting used to, but it’s great for portraits. I used this lens for the longest time and still own it. The next lens I have my eye on is a 35mm lens.
Okay, so now you have your camera and lens of your choosing. Now you need to learn how to use them! My biggest piece of advise would be to get off Auto Mode. While you can certainly take good pictures on Auto, you won’t get those special ones until you get off it. If you want a good guide with “photo recipes” to walk you through photo taking, I would highly recommend this book. It was the first one I purchased when I was learning how to use my camera. I later purchased the other 2 books in the series (found here and here) and still continue to reference them.
There are 3 key terms you’ll need to know when learning how to use your camera: Aperture; ISO; and shutter speed. I’ll try to explain them below.
So if you’re not shooting on Auto Mode, what mode should you shoot on, then? If you’re starting out, I would recommend shooting on Aperture Priority mode (“AV” on Canon). You’ll ultimately want to learn how to shoot on Manual mode, but baby steps.
So what the heck is aperture? It’s basically how open your lens is and affects depth of field. In other words, aperture priority will dictate how blurry or focused your background is. This is a great mode for portraits. You’ll want to keep your subject in focus while having a buttery, blurred out background. While on AV mode, you set the aperture and ISO while your camera will automatically set the shutter speed. You can go ahead and Google the heck out of all these terms, but I want to give you the quick-and-dirty version because #MomLife.
The aperture is the F number that you see on your camera (called an f-stop). The lower this number, the more blurry your background will be. Conversely, the higher the number, the more in-focus it will be. When shooting portraits, you’ll want a low number, so dial it down to the lowest number your lens will allow.
Now for our next term: ISO. ISO is basically how sensitive your camera is to light. Your camera should have an ISO button. Press on it. It will want you to set the ISO speed. You can leave it on Auto if you want, but I recommend you experiment with the ISO so you can learn how it affects your photos. The higher the ISO number, the more light your camera will allow in. But, there’s a trade-off. If you start to get really high with your number, your photo will look “noisy” and grainy. I personally like my photos really light and bright, so I tend to overexpose them a little bit by cranking up the ISO.
I didn’t learn about shutter speed for a while because I would usually shoot on AV mode and let my camera handle the shutter. If you want to get to Manual mode, you’ll need to learn how the shutter speed impacts your photo and how to set it to get the look you want. For example, if you’re shooting a moving object (like a kid) and want to freeze the motion, you’ll want a fast shutter speed to capture the object/person without any blur. On the other hand, say you’re shooting a still object, or say a sleeping baby. You won’t have to worry as much about your shutter speed. You can set it to a lower number and still capture the object without any motion blur. Since I like to let a lot of light into my photos, I like a slower shutter speed (it allows more light in, since the camera is open for a longer time, versus a faster shutter speed which doesn’t allow as much light in). Or, if you’ve seen those photos of running water, say a creek, where the water looks really dreamy and blurry, it’s because the photo was taken on a slow shutter speed.
So as you can see, the look you’re going for largely depends on what aperture, ISO and shutter speed you have dialed in. I know it sounds SO confusing, but I just wanted to give you a quick and easy reference guide as to what the terms mean. There are a lot of resources you can read up on to learn more, but ultimately you’ll want to practice, practice, practice to really learn your camera.
Now that we’re done talking about the technical stuff, here are some tips that I incorporate when taking pictures of my kids. Number 1 is to find the light. Photography is all about lighting and can make or break your pictures. If you’re outside, you generally don’t want to shoot in direct sunlight since the lighting is pretty harsh. Instead, shoot in a shady area. Photographers love to shoot during “golden hour” which is the time either right after sunrise or before sunset because the lighting is very soft and beautiful.
If you’re indoors, say taking pictures of your kids at home, find the light in your house. Pay attention to the time of day when your house gets ample natural light. Then diffuse it. For example, I often take my kids’ pictures near a big sliding door that has a sheer white curtain over it. This softens the light and photographs really well.
Like I mentioned, I love the look of bright, light and airy photos. So I often take pictures of my kids against a white background. I’ll either have them on my white bed or place them on a white blanket. It doesn’t have to be super white and boring, though. I’d encourage you to play with texture. Some of my go-tos for a background are a white linen quilt, a Moroccan wedding blanket with some sequins, and a furry rug.
While I try to get the shot right in camera, I’ll often end up doing some slight editing in Lightroom. I personally find it more user-friendly than Photoshop. However, if you want to truly maximize your editing capabilities, you’ll need to shoot in RAW format in your camera, instead of just JPEG. You can easily set this from your camera’s menu. I won’t get into all the nitty-gritty (that’s what Google is for), but RAW photos will preserve the most information from each picture and will allow the greatest flexibility when it comes to editing.
So there you have it. My tips for taking bright and airy photos of your kiddos. This is a very basic introduction and you can really get into a lot of detail by doing your own research. But once you have a basic understanding of your camera’s settings, I highly recommend that you continue to practice. I know it can be frustrating in the beginning, but you’ll eventually get the hang of it and start taking those frame-worthy pictures of your little ones.
And like I said before, I am NOT a professional at this and still have so much to learn myself. I’m always looking for tips and tricks to better my photography, so if you have any you’d like to share, I would love to hear from you! And if you have any questions, please feel free to contact me; I’d love to help!
Happy picture taking! 🙂


Leave a Reply